Revised: 4/4/2025
For a PDF copy of this entry, please scroll to the bottom and click the Download button.
Table of Contents
CE Tracker is a benefit of hStream for Learning which allows you to set targets and goals for earning continuing education credits, track your progress toward those goals and targets, and link earned continuing education credits with your licensure. This includes the ability to:
-
Input external learning activities (e.g. conferences, in-services, higher education courses)
-
Ensure you get the appropriate credit based on your role & the state in which you work
-
Monitor progress toward CE attainment in real time
-
Print reports for your respective licensure/certification agencies
Figure 1 shows an example of CE Tracker from a user with two licenses, one for each state where a license was issued. Next to each license is a list of completed courses that provide CE credit and are linked to the respective license.

Figure 1
How do I access CE Tracker?
To access CE Tracker, you must:
-
Have permission to self-manage your licensure (view, add, and/or edit)
-
Have an hStream ID linked to your student account
-
Have at least one license attached to your student account in which CE credit may be applied (this can be added by yourself or an administrator)
Note: If you do not have numbers 1 and 2 as listed above, the CE Tracker widget will be inactive.
A HealthStream administrator can verify correct permissions to access these features.
How do I get started?
Once you have verified with your HealthStream administrator that you have the required permissions to access CE Tracker, unlock your HealthStream Portfolio by logging into your HealthStream account, and associating it with your existing hStream ID. If you do not have a hStream ID, you can create a new one from the Profile tab.
Next, navigate to your Completed tab and click on the CE Tracker widget to launch the tool (Figure 2)

Figure 2
The status of your hStream ID and the licensure attached to your profile will determine how the CE Tracker widget appears on your Completed page. Below are two examples you may encounter.
Figure 3 displays what will appear when you have not yet created or linked your hStream ID:
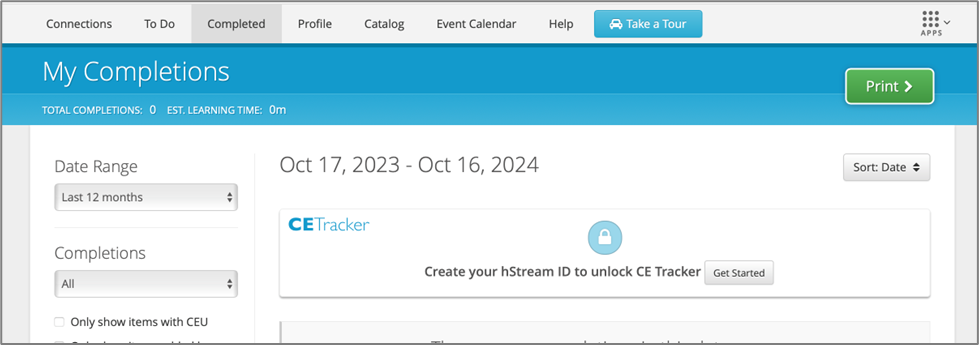
Figure 3
Figure 4 displays what will appear when you have already linked a hStream ID, but there are currently no license(s) attached to your profile:
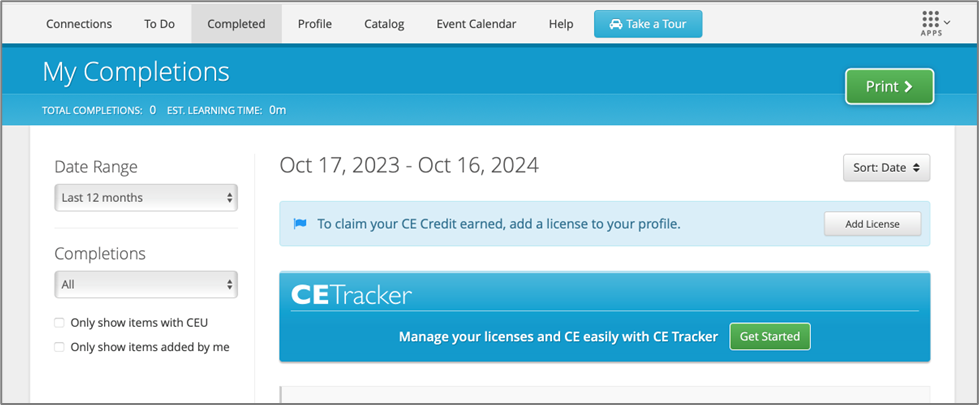
Figure 4
When linking CE to your license(s) for the first time, you will see your license(s) on the left and the “Start Tracking” module to the right (Figure 5):
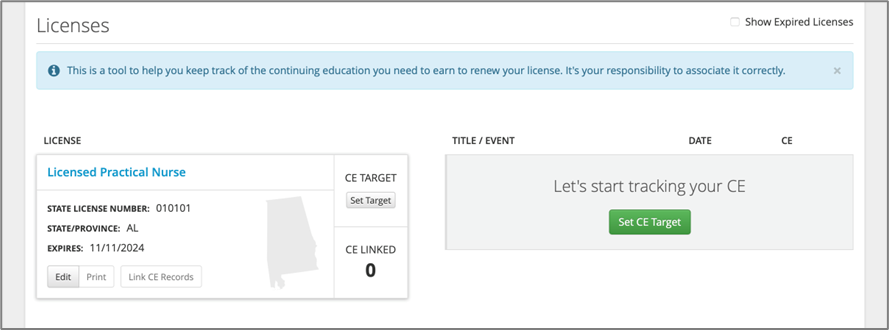
Figure 5
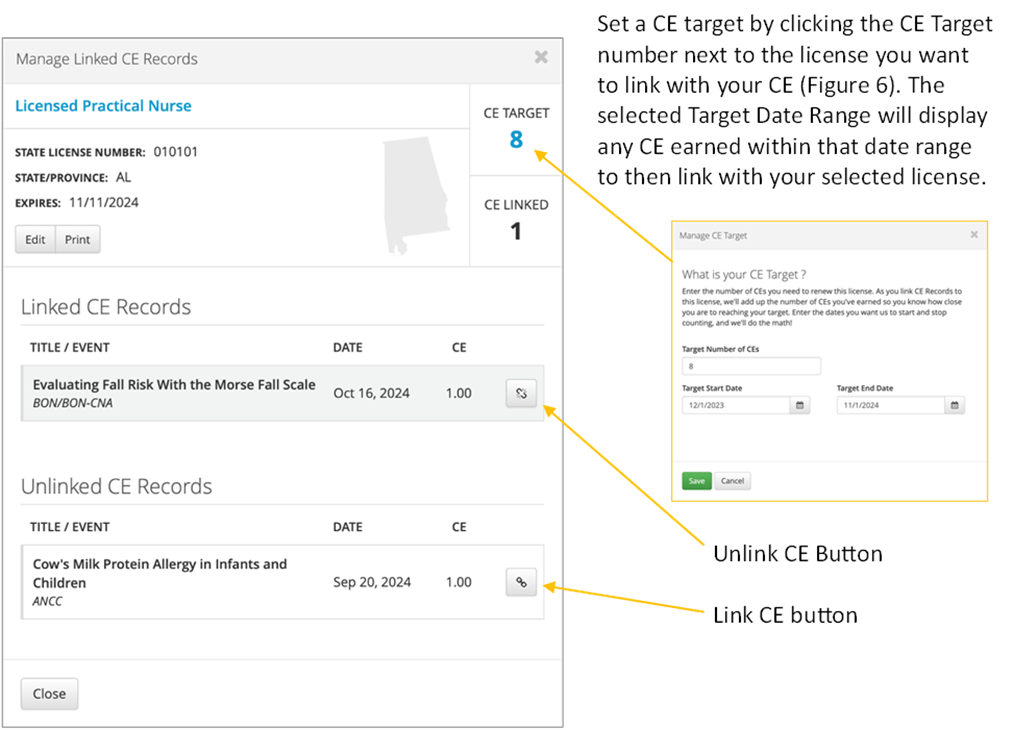
Figure 6
To link CE records, use the Link button on the right-hand side of the Manage Linked CE Records popup (Figure 6). If you accidently added the incorrect CE record, it is as easy to unlink as it is to link and can be accomplished with the same button. After CE is linked, an Unlink button appears on the right-hand side of the linked CE record.
Data Collection
CE data collection is a way for you to collect the necessary data to apply CE credit to your license(s). When you begin any course with CE credit, there is a learning activity that allows you to select which license(s) the credit should be applied. This prompt appears as “required” only once per year and, once completed, it will appear as an “optional” learning activity (figure 7).
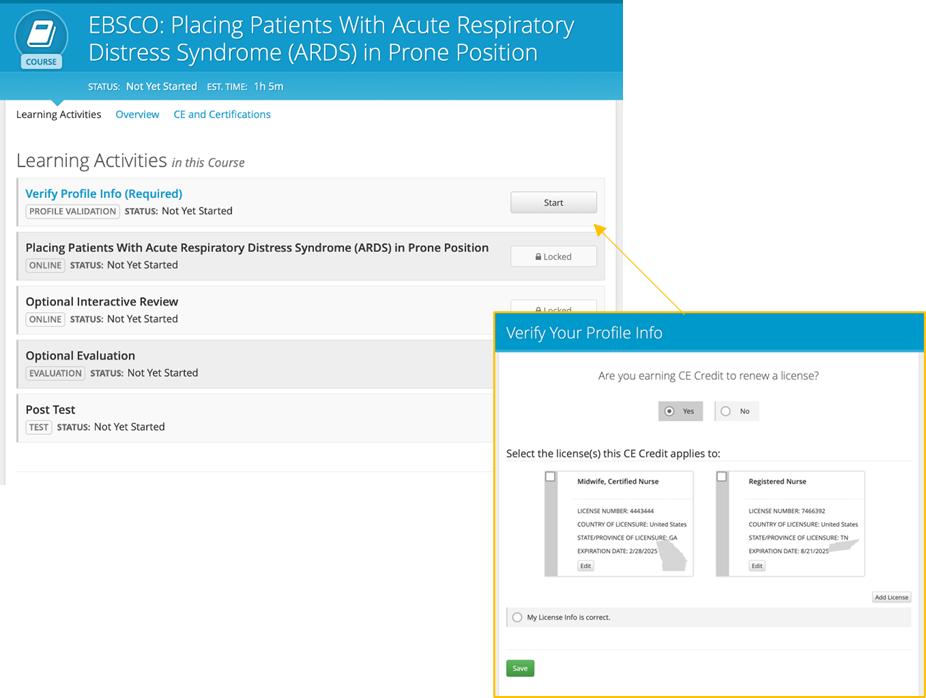
Figure 7
The Verify Required Info to Receive CE Credit screen can vary depending on the permissions your organization has provided you to self-manage your license(s) and personal information.
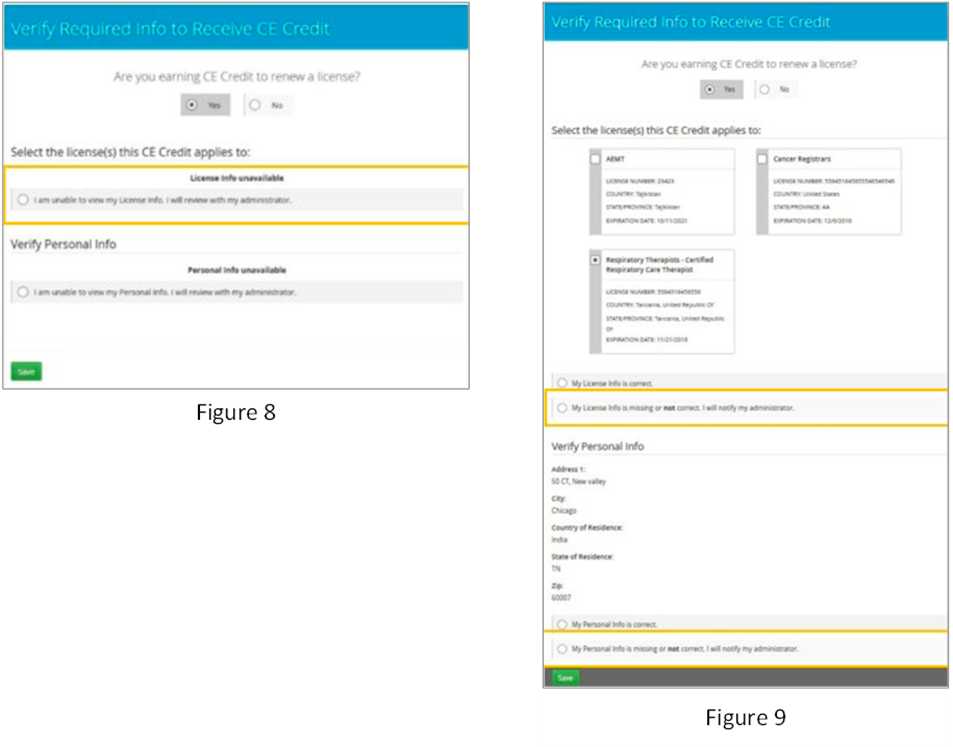
If you do not have permission to self-manage your license(s) you will be prompted as such and guided to connect with an administrator for either permission to self-manage or for them to add an updated license required for CE application (figures 8 and 9)
FAQ
Q: Why can I not access CE Tracker?
A: There are a few reasons why the CE Tracker widget may be inactive:
-
Ensure with your administrator that you have the correct permissions to use CE Tracker (i.e., the ability for students to self-manage licensure)
-
No license(s) are currently attached to your Profile
-
You may need to set up your hStream ID
-
You must be logged in as a student and viewing your Completed tab to see the widget
Q: Does CE Tracker provide a way to include CE credit that was earned outside of a course in HealthStream?
A: Yes, to capture and apply CE Credit to your HealthStream account that was earned through an in-service or live learning event, click the Add CE Record button from the CE Tracker page. You can locate CE Tracker from the Completed tab in your HealthStream account.
Q: After completing a course with CE credit, the credits are not added in CE Tracker. What do I need to do?
A: First ensure that your license information is correct and up to date. If you added or modified your license after the course was completed, you may need to refresh the credits. You can do this by navigating to the Completed page and click on the name of the course; select the CE and Certifications tab and click the Refresh Credits button located in the Additional Credit window.
#HealthStream #CEPath #Clinical-CE #CE-Unlimited #Getting-Started
#CETracker #CEUnlimited